

Choosing the right block paving blocks and making sure they are installed correctly are the two decisions that determine how your driveway looks and how long it lasts.
Get both right and you end up with a surface that handles daily use, resists weather, and enhances the front of your property for decades. Get either one wrong and you are looking at problems that are expensive to fix.
This guide walks through the selection process and the installation stages, so you know what to expect and what to ask for at every step.
How to Select the Right Blocks
Material
The three main materials are concrete, clay, and natural stone. Concrete is affordable and available in a wide range of colours and textures, making it the most popular choice. Clay offers rich, warm tones and classic appeal with superior colour permanence.
Natural stone like granite or sandstone delivers a premium, one-of-a-kind finish. The article on how to choose materials compares each option in detail.
Colour
Match the block colour to the style of your property. Warm reds and buffs suit traditional homes. Cool greys and charcoals complement modern architecture. Multi-toned blends add depth and visual interest. Always view samples in natural daylight and hold them against your brickwork before making a final decision.
Size and Thickness
Standard rectangular block paving blocks are the most versatile and work with every pattern. Driveway blocks should be at least 50mm thick to handle vehicle traffic safely. Thinner blocks designed for patios are not suitable for areas where cars will park or drive.
Finish
Smooth blocks give a clean, contemporary look. Tumbled or aged finishes create a traditional, weathered appearance. Textured surfaces add grip and visual character. The finish you choose should match the overall design of your property and the practical demands of the space.
When selecting block paving blocks, it is worth viewing physical samples rather than relying on online images alone. Screens display colours differently, and the texture of a block is impossible to judge from a photograph. Most reputable suppliers and installers will provide samples you can take home and view against your brickwork in natural daylight.
Selecting a Pattern
The laying pattern affects both the appearance and the structural performance of the surface.
Herringbone is the strongest option. The interlocking angles distribute weight evenly and resist block movement under traffic. It is the recommended pattern for any area used by vehicles.
Running bond creates a cleaner, more linear look. It is well suited to pathways, smaller driveways, and areas where a simpler aesthetic is preferred. Basketweave offers a traditional woven effect that works well on period properties.
Combining patterns, such as herringbone for the main area and running bond for a border or pathway, adds visual definition. The article on how surfaces contribute to enhancing functionality covers how layout choices affect both appearance and usability.
The Installation Process
Understanding what goes into a professional installation helps you assess quotes, set expectations, and recognise quality workmanship.
Site Clearance and Excavation
The first stage involves clearing the existing surface and excavating to the required depth. This removes old materials, vegetation, and any unstable ground. The depth of excavation depends on the soil type and the expected load. For driveways, a total depth of around 200 to 250mm is typical, accounting for the sub-base, bedding layer, and block thickness.
Sub-Base Preparation
The sub-base is the foundation that supports everything above it. It is usually made from compacted type 1 or type 3 aggregate, laid in layers and compacted with a plate vibrator until it reaches the specified depth and density.
A stable, level, and well-drained sub-base is non-negotiable. If the sub-base is too thin, poorly compacted, or does not drain properly, the block paving blocks above will crack, sink, or shift. The article on proper drainage explains how drainage works alongside the sub-base.
Edge Restraints
Before the blocks are laid, edge restraints are installed around the perimeter of the driveway. These hold the blocks firmly in position and prevent the surface from spreading under traffic. Restraints can be concrete edging, block borders, or specialist paving restraints.
Bedding Layer
A layer of sharp sand, typically around 30 to 40mm deep, is spread over the sub-base and screeded to a level, consistent surface. This bedding layer provides a smooth base for the blocks to sit on and allows for fine adjustments in height.
Laying the Blocks
The blocks are laid by hand according to the chosen pattern. Each unit is placed carefully to maintain consistent joint widths and alignment. Starting from a fixed edge and working outward ensures the pattern stays straight and even.
Cutting is needed around the edges, curves, and any obstacles like drain covers or boundary walls. A block splitter or diamond-tipped saw produces clean, accurate cuts. The article on how to prepare your property covers what should happen before this stage begins.
Compaction
Once all the blocks are in place, the surface is compacted using a plate vibrator with a rubber mat to protect the block faces. This settles the blocks into the bedding layer and locks them together, creating a stable, load-bearing surface.
Jointing
The final step is filling the joints with kiln-dried sand or polymeric sand. The sand is brushed across the surface and worked into the gaps between the blocks, then compacted again to ensure it settles fully.
Well-filled joints are essential for the structural integrity and long-term performance of the surface. The block paving maintenance guide covers how to keep joints in good condition after installation.
What Quality Installation Looks Like
A properly installed block paving surface should be level, even, and consistent in pattern. There should be no visible rocking, gaps, or misaligned blocks. The edges should be straight and firmly restrained, and the surface should feel solid underfoot with no soft spots.
Water should drain away from the property and not pool on the surface. The jointing sand should be full and even across all joints.
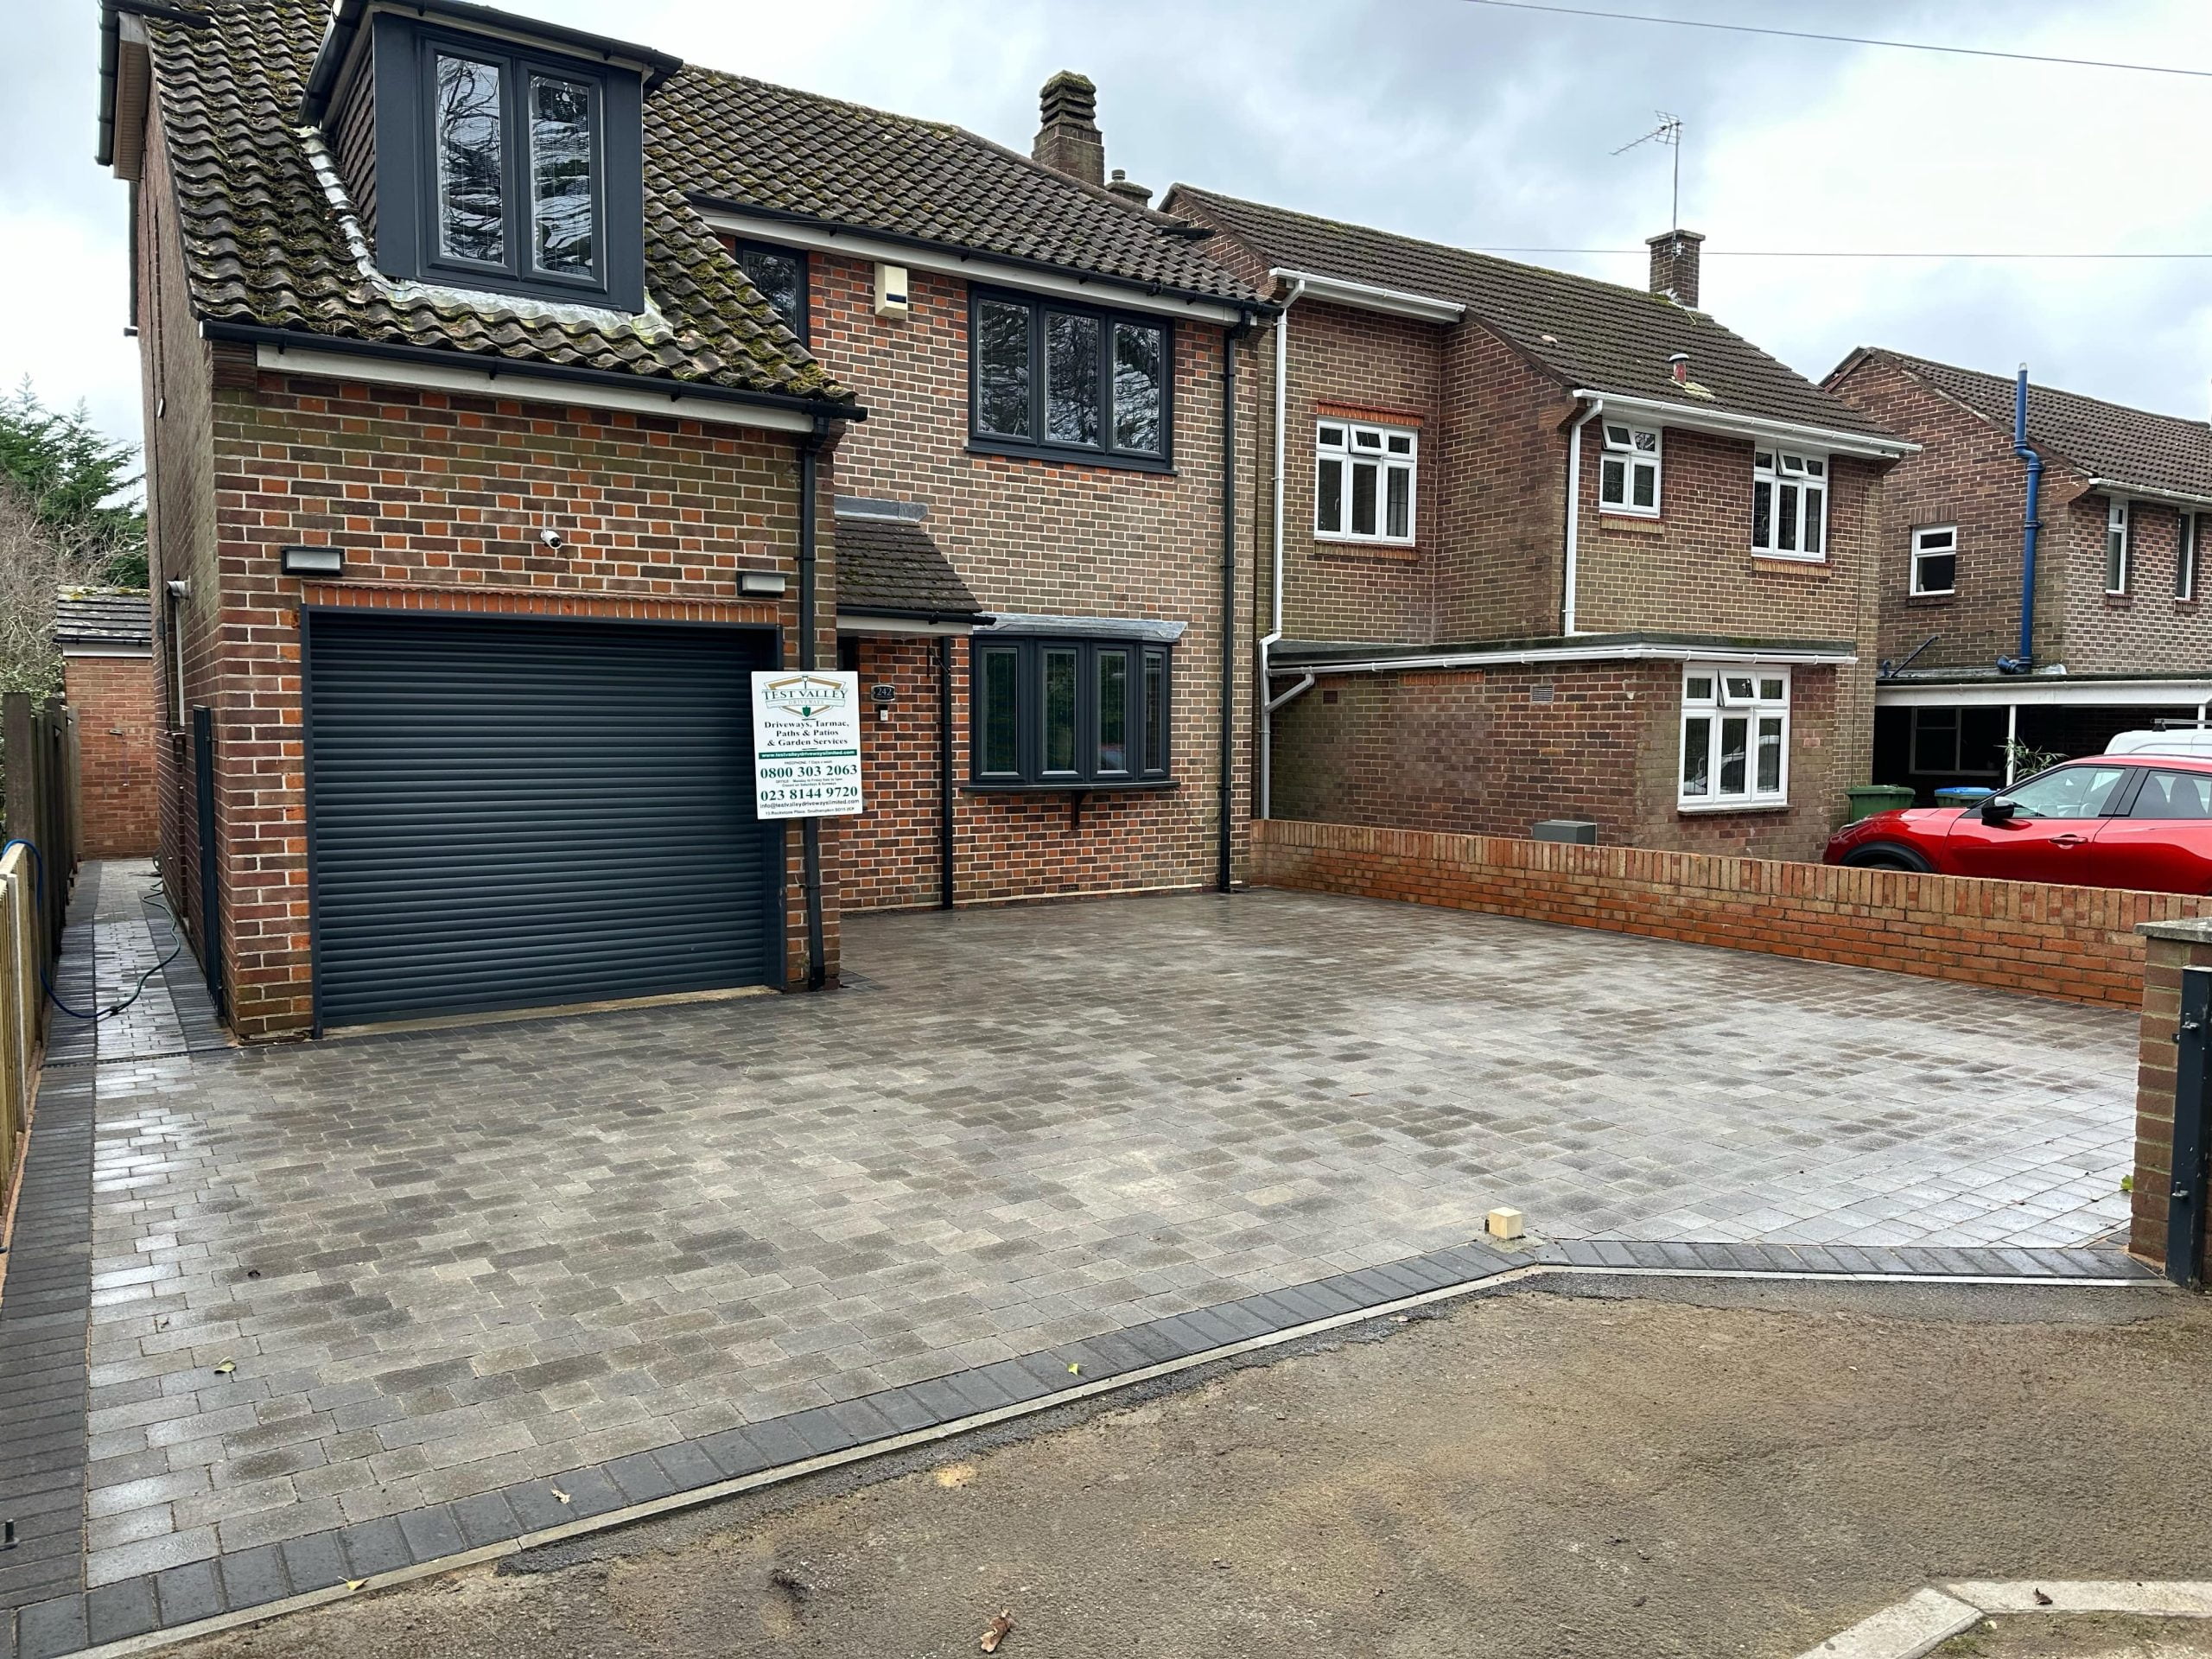
High-quality block paving that enhances kerb appeal and adds long-term value starts with getting these details right. The surface should withstand heavy loads, weather, and daily wear without cracking, which is the hallmark of professional workmanship.
If a section does need attention in the future, individual blocks are easy to repair and maintain. They can be lifted and replaced without affecting the surrounding surface, making targeted repairs straightforward and cost-effective. The article on repair vs. replacement helps you assess whether a fix or a full replacement is the better option.
Working with the Right Team
At testvalleydrivewayslimited.com, every project is approached with care, precision, and a commitment to getting it right the first time.
The team has over 15 years of hands-on experience and is rated 5 stars on Google, with homeowners across Southampton, Winchester, Salisbury, Romsey, and the wider Hampshire area praising the professionalism, attention to detail, and tidy job sites.
All work is backed by an insurance-backed 10-year guarantee and £5 million public liability insurance, with accreditations from Checkatrade, the Guild of Master Craftsmen, the Federation of Master Builders, and TrustMark. Free no-obligation quotes are available on every project.
Frequently Asked Questions (FAQs)
1. How Thick Should Block Paving Blocks Be for a Driveway?
At least 50mm. Thinner blocks designed for patios or pedestrian areas cannot handle the weight and pressure of vehicles and will crack or shift under traffic.
2. What Pattern Is Strongest for a Driveway?
Herringbone is the strongest and most recommended pattern for driveways. The interlocking layout distributes weight evenly and prevents blocks from shifting under vehicle loads.
3. How Long Does Block Paving Installation Take?
A standard residential driveway typically takes between three and five days, depending on the size, the condition of the ground, and the complexity of the design.
4. Can Damaged Blocks Be Replaced Individually?
Yes. One of the key advantages of block paving is that individual blocks can be lifted and replaced without disturbing the surrounding surface. This makes repairs simple and cost-effective.
5. What Happens If the Sub-Base Is Not Done Properly?
A poor sub-base leads to cracking, sinking, and movement of the block paving blocks over time. These problems usually appear within the first couple of years and require the surface to be lifted and relaid, which is far more expensive than doing the groundwork correctly from the start.